
🚗 Why Replacing Wiper Blades Matters
Worn or damaged wiper blades can cause streaks, poor visibility, and even damage to your windshield. For optimal performance and safety, it’s recommended to replace your blades every 6 to 12 months—or sooner if you notice signs of wear.
Failing to change wipers in time can also lead to:
- Scratches on your windshield
- Impaired driving in rain or snow
- Annoying noises like squeaking or chattering
🧰 Tools & Materials You’ll Need
- New wiper blades (correct size for your vehicle)
- Soft cloth or towel (to protect your windshield)
- Optional: Flat-head screwdriver or needle-nose pliers

🔧 Step-by-Step: How to Change Wiper Blades
Step 1: Lift the Wiper Arms
- Park your vehicle and turn off the ignition.
- Gently lift the wiper arms away from the windshield until they lock in an upright position.
- Place a towel under the arm to prevent it from snapping back.

Step 2: Remove the Old Blades
- Locate the small tab or button on the wiper blade’s attachment point.
- Press and hold the tab while sliding the blade downward (for J-hook arms) or pulling it straight off (for pin connectors).
- Set the old blade aside and avoid letting the bare arm snap onto the glass.

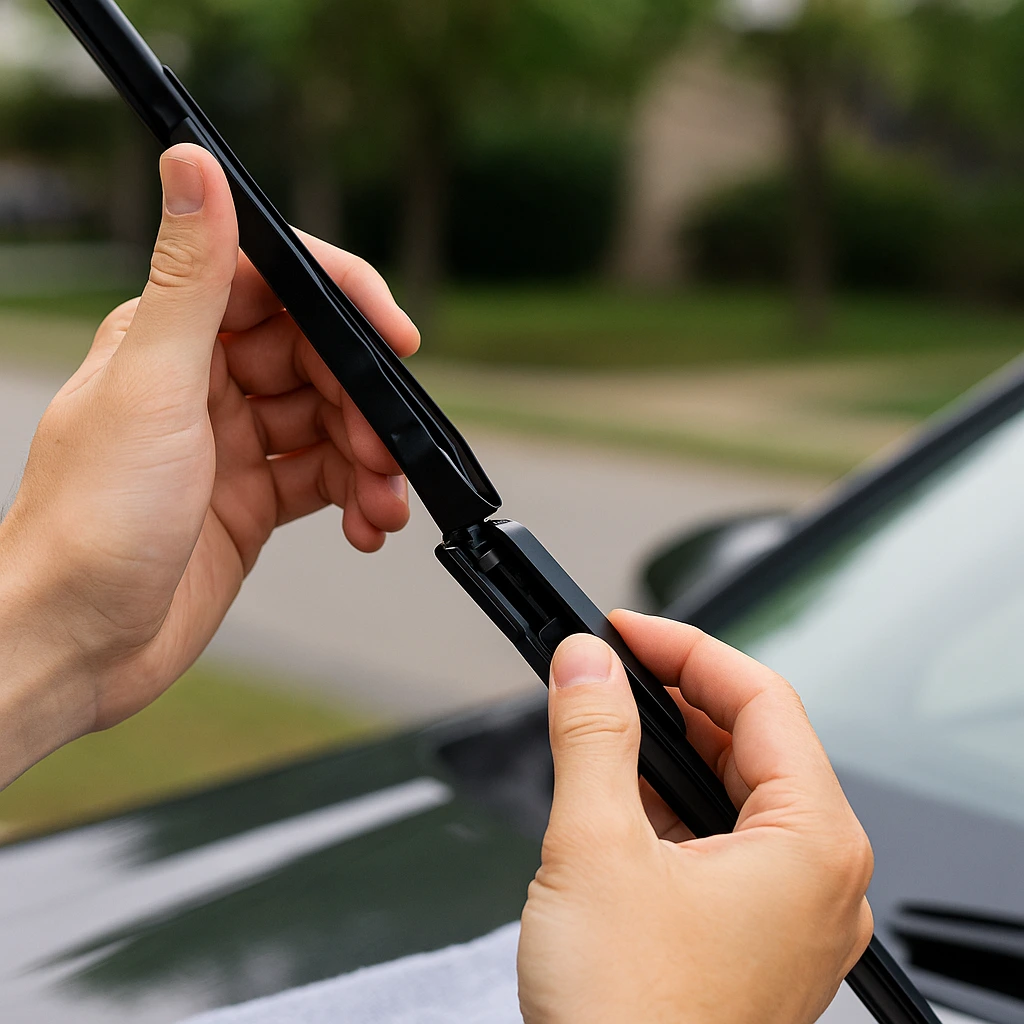
Step 3: Attach the New Wiper Blades
- Align the new blade’s connector with the arm.
- Slide or push the new blade onto the arm until you hear it click.
- Gently lower the arm back onto the windshield.
Step 4: Test the New Blades
- Start your vehicle and spray the windshield with washer fluid.
- Turn on the wipers and observe the motion—look for smooth, streak-free operation.

Bonus Tip: Dispose of Old Wipers Responsibly
Don’t toss old blades in the trash. Check if your local recycling center accepts rubber and metal parts, or ask your auto parts store if they offer a recycling program.
✅ Final Thoughts
Learning how to change wiper blades saves time, money, and gives you peace of mind during rain or snow. It’s a small task that makes a big difference in road safety. Bookmark this guide, and the next time your wipers start to streak or squeak, you’ll know exactly what to do.
❓ FAQs About Changing Wiper Blades
How do I know which wiper blade size I need?
Check your vehicle’s owner’s manual or use the wiper size lookup tool on most auto parts websites. You can also measure the old blades or ask us at 24k Auto Parts.
Can I change wiper blades myself without tools?
Yes! Most wiper blades are designed to be replaced without any tools. If needed, a flat-head screwdriver can help press the release tab.
How often should I replace my windshield wiper blades?
Most drivers should replace them every 6–12 months. If you notice streaking, squeaking, or skipping, it’s time for a new pair.
What are signs my wiper blades need replacing?
– Streaking or smearing water across the windshield
– Squeaking or chattering sounds
– Skipping areas or uneven wiping
– Cracks, splits, or missing rubber on the blade edge